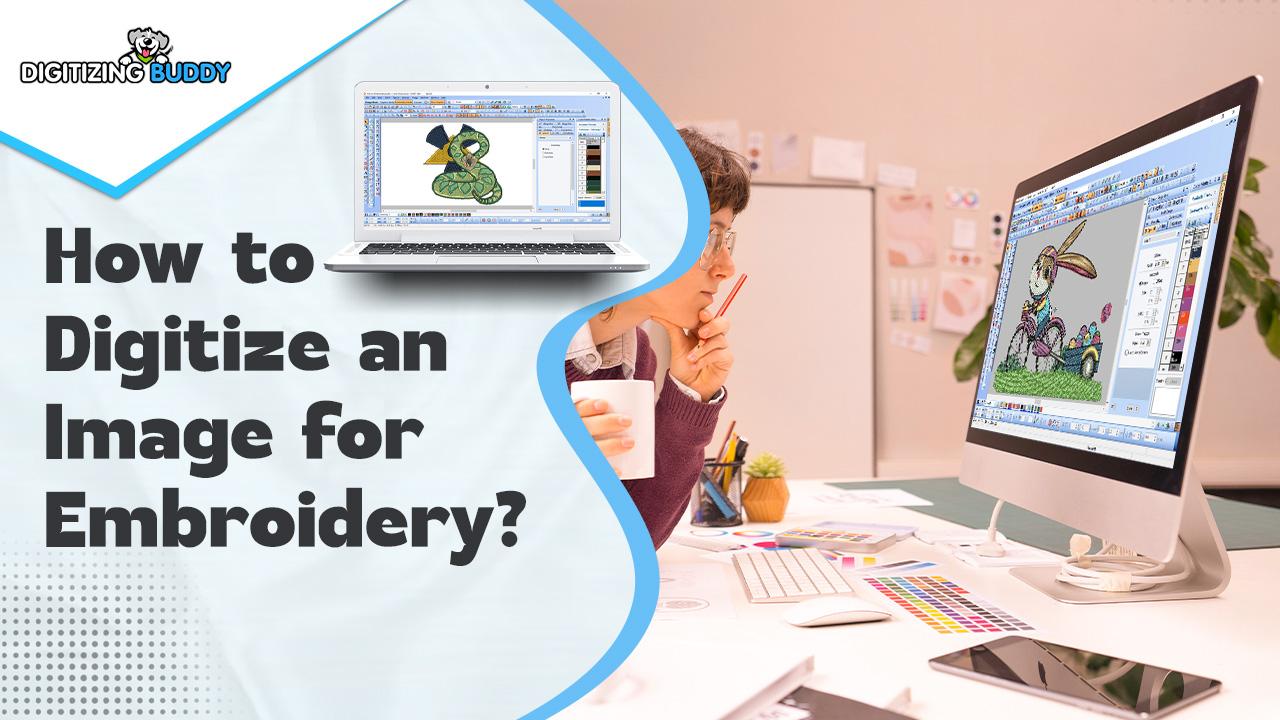
Hook: Turn Art into Threaded Masterpieces
Ever looked at a logo or illustration and thought, "That would look amazing embroidered"? You’re not alone. Digitizing transforms ordinary images into embroidery-ready files that machines can read, helping you bring creativity to life—one stitch at a time.
Introduction: The Bridge Between Design and Machine
Embroidery digitizing is an essential process for converting flat images into digital stitch files. It’s not just a tech step—it’s an art form that combines visual design with the mechanical capabilities of embroidery machines. If you’ve ever wondered how to digitize an image for embroidery, you’re in the right place. Let’s walk through the process of How to Digitize an Image for Embroidery Like a Pro.
What Is Digitizing for Embroidery?
Definition and Purpose
Digitizing is the process of converting artwork into a digital embroidery file format like DST, PES, or JEF. This file instructs the machine where and how to place each stitch. Think of it as translating your design into a language the machine understands.
Why It’s Important
Without proper digitizing, embroidery machines cannot stitch a design accurately. Poor digitizing results in uneven stitching, misaligned elements, or thread breaks. A well-digitized file ensures the final embroidered design is clean, professional, and durable.
Tools You’ll Need
To get started, you'll need a computer, embroidery digitizing software (like Wilcom, Hatch, or Embird), and a high-resolution version of your design. Optionally, a graphics tablet can offer more precision for manual digitizing.
Step-by-Step Process to Digitize an Image for Embroidery
Step 1 – Choose the Right Image
Start with a high-quality image—preferably a vector (SVG, AI) or a high-res raster (PNG, JPG). Clean lines and strong contrast make digitizing easier and more accurate.
Step 2 – Open Image in Your Digitizing Software
Launch your digitizing software and import the image. Set your workspace dimensions to match your embroidery hoop size. This ensures your design fits the final product properly.
Step 3 – Define the Stitch Types
Different parts of your design require different stitch types:
- Satin Stitch: Ideal for borders and text.
- Fill Stitch: Great for large areas.
- Running Stitch: Used for outlines or thin details.
Choose stitch types based on the shape, size, and detail of each design element.
Step 4 – Set Stitch Direction and Density
Adjust the angle and density of stitches to match the fabric type and design complexity. Stitch direction affects how light reflects off thread, while density affects texture and durability.
Step 5 – Add Underlay Stitches
Underlay stitches provide a stable base and prevent puckering. Types include edge run, zigzag, and center walk. Choose the underlay that suits your fabric and design size.
Step 6 – Sequence the Stitching Order
Arrange the order in which each section is stitched. Start from the center and work outward to minimize fabric shifting. Also, group same-color sections to reduce thread changes.
Step 7 – Assign Thread Colors
Assign thread colors to each element of your design. Use the color palette in your digitizing software to match the physical threads you’ll use.
Step 8 – Preview the Design
Preview your digitized file using the software’s simulation feature. This lets you spot errors like gaps or overlaps before you hit the machine.
Step 9 – Export to Machine-Compatible Format
Once everything looks good, export your file in the correct format for your embroidery machine—such as PES for Brother, DST for Tajima, or JEF for Janome.
Step 10 – Test Stitch
Run a test stitch on a similar fabric before going into full production. This helps you catch any issues and make adjustments as needed.
Pro Tips for Better Digitizing
Simplify Complex Designs
Highly detailed designs may not translate well to thread. Simplify elements and avoid gradients or very fine lines that might get lost in stitching.
Use Quality Software
Investing in professional-grade software like Wilcom or Hatch ensures better control over stitch paths, density, and layering.
Learn Fabric Behavior
Different fabrics react to stitches in unique ways. Knit fabrics may stretch, while canvas might resist. Adjust your stitch settings accordingly.
Conclusion: Turn Images Into Embroidered Art
Digitizing is more than just importing an image—it’s an intricate craft that bridges creativity and technical know-how. By following this step-by-step guide, you can convert your favorite images into beautiful, stitch-ready embroidery files. With practice, the right tools, and attention to detail, anyone can master the art of embroidery digitizing and bring their designs to life.


Share this page with your family and friends.